The Complete Guide to Wafer Paper Flowers: How to Make, Colour + Store Them (2026)
Everything you need to know about this beautiful, lightweight edible art form— from your very first petal to arranging them on a finished cake.
Click on the underlined links to jump to the respective sections.


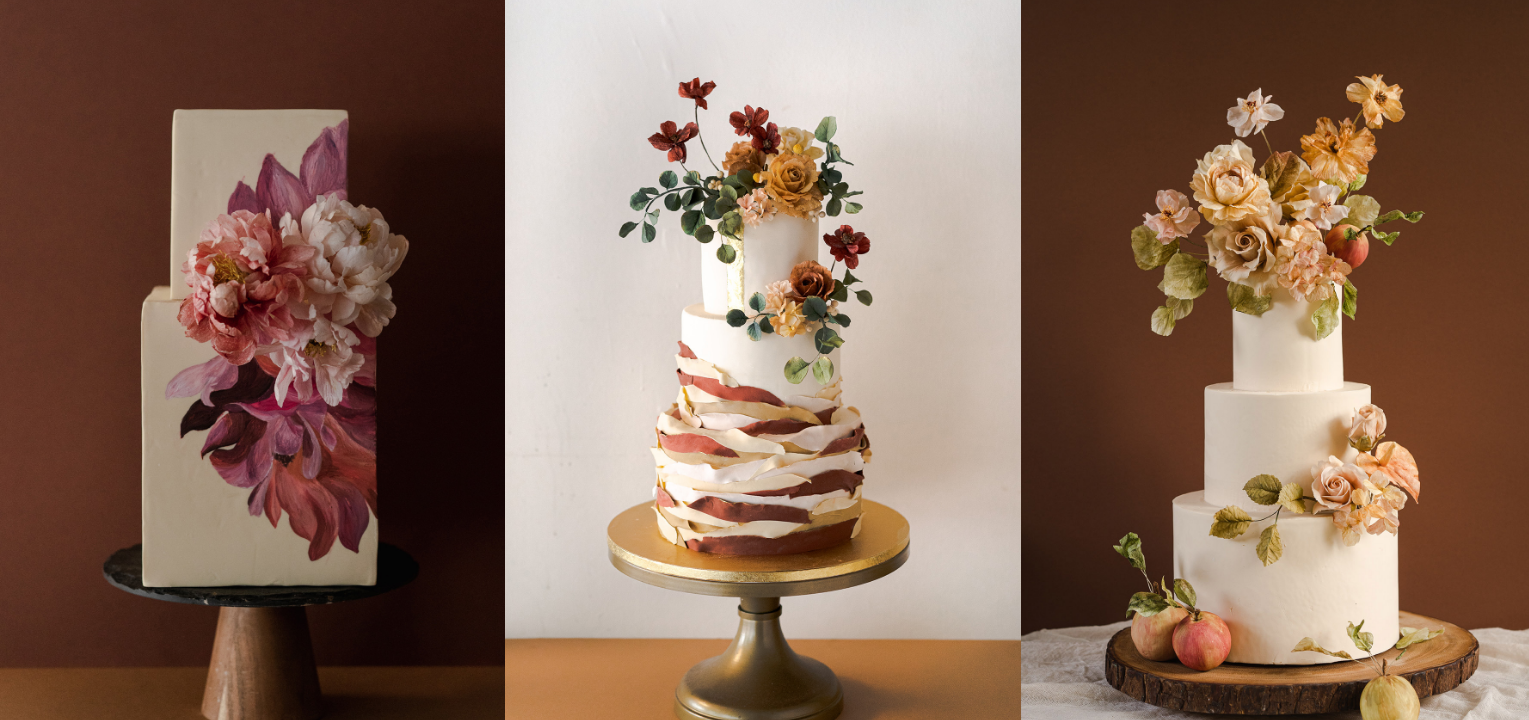
One of the things that draws people to wafer paper is the extraordinary range of what is possible. From the simplest fantasy flower — made in minutes with just scissors and a few petals — to the most botanically layered rose or peony, this medium is capable of genuine variety.
Here are some of the most beautiful and loved wafer paper flower types:
COSMOS—
Delicate, romantic, and one of the first flowers Winifred teaches. Light enough to sway on a stem. Our free workshop begins here:
CLICK HERE to get started for free! Bonus PDF Guide is included.
More than 3000+ people have signed up for it and learnt all the foundations for working with wafer paper, create beautiful cosmos flowers and how to arrange them on a cake.
OPEN TULIPS—
Another easy flower take requires 20% effort, but creates 80% impact. In this tutorial, Winifred teaches you how to achieve 2 different color tones for your flowers.
CLICK HERE to get your free workbook and guide. Click on thumbnail above to watch the tutorial on her YouTube.
WAFER PAPER LEAVES—
Wafer paper leaves and foliage are often underestimated, but a well-made leaf can transform an arrangement. If you are completely new to wafer paper, leaves are the most forgiving place to begin:
CLICK HERE to get your free workbook and guide. Click on thumbnail above to watch the tutorial on her YouTube.
In this step-by-step tutorial, Winifred brings you through how to create these delicate looking mini daisies in just a few simple steps!
The best way to understand wafer paper flowers is to make one. This step-by-step tutorial walks you through creating a wafer paper daisy— one of the most approachable flowers to start with, and genuinely beautiful when it comes together. Read through all the steps once before you begin, gather your tools, and then take your time with each one. There is no rush here.

TOOLS YOU WILL NEED
STEP-BY-STEP DIRECTIONS:

1. Cut the 26g wire into halves or thirds and use the plier to bend the end of the wire into a little hook. Prepare the amount of gumpaste as shown and roll it into a mini ball.
2. Dip the mini hook into the egg whites, tap off the excess, and push it into the gumpaste ball. Ensure that you close the hole caused by the insertion by pinching your index finger and thumb in this manner.
3. To create the centre of the daisy, turn the gumpaste ball around and use a toothpick to make random indentations.
4. This is what it should look like when it’s done. Leave the ball to dry for at least 1 – 2 hours, making sure that the gumpaste is completely dry before you move on to the next step.
Tip: You can make these daisy centres one day before and finish the remaining steps the next day.
5. Next, cut a tiny circular shape out of wafer paper and thread it through the wire until it reaches the bottom of the daisy centre.
6. Add some wafer paper glue to the circular cut out and adhere it to the gumpaste. This helps the wafer paper petals to adhere to the daisy centre more easily in the later steps. The wafer paper cut out should be well adhered to the bottom of the daisy centre when you’re done.
7. Cut out mini teardrop shaped wafer paper (these will be the petals) and start attaching them to the center of the daisy (Winifred usually attaches 5 – 6 petals around the daisy centre).
This is how the flower will look after you’re done with the petals. They can be more opened or angled at 45° like this one here.
This will be your first layer of petals. You can choose to stop here or continue adding another layer for more visual interest.
In the picture above, Winifred has added a few more petals below the first layer to add more dimension to the flower.
8. The petals are looking a little flat at this point. To counter this issue, use the vodka spray to give it 1 – 2 sprays from a distance.
Note: Avoid spraying too much vodka as we only need enough liquid for the petals to become soft and pliable for you to bend them. Wafer paper is extremely sensitive to liquid and adding too much will drench your flower, potentially destroying it.
9. Once the petals become soft and pliable, use your fingers to gently bend it backwards. This helps to give the entire flower more character by introducing some movement in the petals.
10. Mix the edible dust colours that you’ve chosen to achieve an orangey-yellow shade. Once you’re done, use your brush to gently tap on the daisy centre to transfer the colours over. Note: Dusting your flowers is important as it helps to give it more life and look more realistic.
11. Cut out a mini starfish shape to create the calyx and colour it with a green tone. Tip: Mix edible gel colors with vodka to achieve a paintable consistency.
12. Just like what you’ve to the daisy petals, use your fingers to bed the calyx to curl it before it dries out. Attach this to the bottom of your daisy and you’re done! Tip: Use the same green to paint your wire to gussy it up as the stem of your flowers.
And that’s it!
Hope you like this tutorial!
FULL PICTORIAL VIDEO HERE:
If you’ve attempted making these flowers, tag us on Instagram (@winifredkristecake) so we can see your beautiful wafer paper daisies!
Colouring is where wafer paper flowers go from beautiful to extraordinary. And it is also, for many beginners, where things feel uncertain at first. Which products do you use? How do you build depth? How do you avoid the paper dissolving?
The single most important rule: always use oil-based colourings (that contains glycerin) on wafer paper. Avoid water-based food dyes as it will cause it to warp, bubble, or dissolve — because wafer paper is highly sensitive to moisture.
In this 6 part wafer paper leaves series, Winifred teaches you how to color and shares the importance of understanding what colors, liquid and wafer paper to use:
GINKO LEAVES—
Here's another bonus for you!
Wafer paper leaves and foliage are often underestimated, but a well-made leaf can transform an arrangement. If you are completely new to wafer paper, leaves are the most forgiving place to begin, you will also learn how Winifred mixes a natural muted yellow for her Ginkgo leaves:
CLICK HERE to get your free workbook and guide. Click on thumbnail above to watch the tutorial on her YouTube.
Lastly, if you want to add additional colors to your flowers, you may also use edible dry dusts to add on any accent colors as you wish. It helps to enhance the look of your flowers or leaves and since edible dust colors are dry, you will not risk adding moisture that may soften or melt your wafer paper.
Wafer paper has a reputation for being difficult — and honestly, some of that reputation is earned. It is sensitive. It responds to moisture, to humidity, to a too-wet brush. But most of the frustrations beginners encounter are the same ones, and all of them are entirely avoidable once you know what to watch for.
Mistake 1: Using water-based colour directly on the paper
Even a small amount of water-based dye applied directly can cause wafer paper to warp, buckle, or dissolve. Always use petal dust (dry), gel colour mixed with vodka, oil-based candy colours, or petal dust mixed with piping gel. These methods give you full colour range without touching the paper's structural integrity.
Mistake 2: Using too much liquid when softening petals
When using vodka spray to soften petals for shaping, one or two short sprays from about 30cm away is all you need. Over-spraying — or holding the bottle too close — will drench the paper and damage it. The aim is just enough moisture to make it pliable, not wet.
Mistake 3: Skipping the moisture barrier on buttercream cakes
Buttercream and fresh cream both contain moisture. Placing wafer paper directly on frosting without a protective barrier will cause the base of the flower to soften, sag, and potentially collapse. Before attaching any wafer paper flower to a frosted cake, apply a thin layer of melted cocoa butter to the area of contact. This creates a simple, food-safe barrier that protects the flower.
Winifred answers all your TOP 14 Frequently Asked Questions about Wafer Paper Flowers here:
One of the most practical advantages of wafer paper flowers is this: made and stored correctly, they can last FOREVER. You can make them weeks in advance, tuck them away safely, and bring them out when you need them. For wedding cakes and events where timing matters, this is a genuine gift.
The single most important factor is keeping them away from moisture. Everything else follows from that.
Where to store them: In a cool and consistently dry place. Avoid storing near ovens, windows, fridges, or anywhere that experiences sudden changes in temperature or humidity.
How to store them: In a rigid, airtight container — not a zip-lock bag, which can crush delicate petals and doesn't protect against humidity as effectively. A sturdy box with a secure lid works well. Add a few silica gel packets inside to actively absorb any residual moisture. If you are storing multiple flowers, separate layers with sheets of tissue paper to prevent them pressing together.
How long do wafer paper flowers last? Finished wafer paper flowers stored in a dry, airtight container can last 6 to 12 months or longer. The flowers themselves will not go bad — but their colour may gradually fade and their structure may soften if exposed to humidity over time. Unused wafer paper sheets, stored correctly, typically last 2 to 3 years.
Wafer paper will not go bad. As a general rule of thumb, it’s recommended that you use it within a year of its purchase. This is because the paper dries out and becomes brittle over time.
One of the best things about utilising wafer paper is the scrapes. These unused bits can be kept for future use. Ensure that you keep the extra pieces in a clean Ziplock bag and store them in a cool, dry place.
HOW TO STORE WAFER PAPER FLOWERS?
For more information, watch this comprehensive video above on how you store you wafer paper flowers.
Before attaching the sugar flowers to your cake, we need to learn how to make wafer paper glue. This glue can also be used to attach the petals to your wafer paper flowers in step 6 of our wafer paper daisies tutorial.
INGREDIENTS
DIRECTIONS
-----------------------------------------------------------------------------------------------------------------------------------------------
Attaching your flowers:
Step 1. If your flowers are built on floral wire, wrap each wire with floral tape before inserting it into the cake. This is important — floral tape makes the wire food-safe. Never insert an unwrapped wire directly into cake.
Step 2. Insert wired flowers using a flower pick or a short section of drinking straw as a protective barrier between the wire and the cake interior.
Step 3. For flowers being attached directly to the cake surface (without wire), use a fine brush to apply a small amount of wafer paper glue to the base of the flower, then press gently into place.
Step 4. If attaching to a buttercream or fresh cream cake, first apply a small amount of melted cocoa butter to the area of contact — or to the back of the flower — and allow it to set before placing. This protective barrier prevents the buttercream's moisture from softening the wafer paper.
Step 5. Arrange your flowers as close to serving time as possible, take note of humid environments or if the cake will be displayed for a long period in a humid area.
If this page has sparked something in you, we would love to take you further.
1. Start free: Over 3,000 students have begun their wafer paper journey with Winifred's FREE Cosmos Workshop — a full foundational class covering the essential techniques, cosmos flowers, and how to arrange them on a cake. It is the most beautiful place to begin.
2. Mini Wafer Paper Rose Class: Create Stunning Edible Roses in Minutes
Discover a quick, efficient method to craft show-stopping sugar flowers—perfect for cake professionals and passionate creatives alike.
This mini class is a fast, approachable introduction to professional edible flower design. For just $19, you’ll learn how to create elegant, high-impact roses using a simple, time-saving method—plus get a bonus color class to spark your creativity and elevate your results:
3. Go deeper: The Ultimate Floral Bundle covers 12 stunning flowers — including hydrangeas, ranunculus, roses, peonies, and more — with full lessons on colouring, design, and cake composition. Designed for all levels, from complete beginners to working professionals.
This wafer paper flowers course by Winifred Kristé Cake is suitable for newbies and professionals; each lesson is designed to guide and help you to master these seemingly complicated creations in just a few simple steps.
The curriculum includes learning 12 stunning wafer paper flowers such as hydrangeas, ranunculus, rose, fluffy peony and more. It also covers the tools and materials and special tips you need to create these intricate flowers.

Here are just some of our students' gorgeous beautiful wafer paper flowers :)
If this is something you have been wanting to try for the longest time, I hope all these resources have been helpful and our team is always one email away: [email protected].
We are here to support you in your journey to become the sugar flower artist and cake decorator of your dream :)
Wafer Paper Flowers are quick and more fuss free to make as compare to gumpaste flowers, so come discover the wonders of it & elevate your cake’s décor and learn how to make them today!
A 100% yes. Winifred learns most of her skills from scratch, made all the mistakes so you don't have to- so all classes are designed with the thought of making sure all the fundamentals are covered in detail step-by-step processes, before we move on to something more advanced.
You're in safe hands to kick start your wafer paper and cake decorating journey here. All we ask for, is a heart open to learning.
If you are still unsure, you may try out Winifred's most popular Wafer Paper Mini Rose Class, perfect for beginners to get started!
Not at all. However, if you prefer to start with a smaller class and have a taster, our Beginner's Favorite is our Wafer Paper Mini Rose Class.
This class will allow you to understand how easy it is to create a romantic looking flower like the rose- you’ll be guided step-by-step through the process, and be able to build confidence in working with wafer paper flowers.
You’ll need some basic tools like scissors, floral wire, and edible glue, along with wafer paper (don’t worry—we’ll send you a full supply list when you sign up (yes even in our free classes)). Many of the items are things you may already have in your cake decorating kit.
If you are just starting out, begin with what you already have. The tools can grow as you do.
Wafer paper can work on buttercream cakes, too. Just remember to add in a layer of melted cocoa butter between the wafer paper flowers and the buttercream so the condensation from the buttercream will not soften or affect the wafer paper. (Wafer paper is sensitive to moisture.)
Winifred is based in Singapore where the humidity level is around 70-80% on average, so yes, both wafer paper and flexible gum paste flowers can be made in humid climates. Helpful tools include a dehumidifier to reduce the humidity level to about 60-65%, and the use of vodka to condition wafer paper. You can learn more about working with wafer paper on my YouTube Channel.
Yes- in fact, many techniques for gumpaste and wafer paper are interchangeable.
Both are beautiful — and both have their place on a cake. Wafer paper flowers are made from edible rice paper: they are lightweight, translucent, and do not require overnight drying time. There is a delicacy to them — almost ethereal — that makes them feel incredibly lifelike.
Gum paste flowers are denser and more sculptural, ideal for highly detailed work that needs to hold its shape firmly over time.
If you are new to sugar flowers, wafer paper is a wonderful, forgiving place to begin. If you are drawn to intricate, structured petals with a porcelain quality, gum paste may be calling you.
This varies widely depending on the school and the depth of the course. Single classes can range from as little as $19 — like our Mini Wafer Paper Rose class — to several hundred dollars for a comprehensive masterclass. Subscription platforms like Skillshare or Sugar Geek Show offer membership-based access that can be cost-effective if you plan to take multiple courses.
At Winifred Kristé Cake, we also offer a free entry point — our Wafer Paper Guide + Cosmos Workshop — so you can find your footing before committing to a paid course.
We would gently suggest starting with something free — both to experience the teaching format and to find a teacher whose style genuinely resonates with you. Our FREE Wafer Paper Guide + Cosmos Workshop is designed exactly for this: a full, foundational introduction to working with wafer paper, creating cosmos flowers, and arranging them on a cake.
Over 3,000 students have begun their journey here. From that experience, you will know exactly where you want to go next — and you will already have surprised yourself with what you can make.
that will boost your creative skillset for you to expand more on knowledge and experience & to take it to the next level:

Kickstart your journey in making beautiful wafer paper flowers. Assemble essential tools and create simple flowers to build your confidence and skills. *Early Access Bonus* Mixing a pink color palette for your roses.
$19

Introduction to Wafer Paper- From understanding this medium, to application of colour & movement, to creating 5 different types of beautiful foliage. Everything you need to know to get started. Click in for more.
Free

You cannot go wrong with a classic rose, there are so many ways to create it. You will learn colouring, shaping and attaching technique, and how to make your rose look more realistic in this class.
$299

Learn how to create this luxuriously layered flower, wafer paper allows the flower to layer up beautifully with petals staying thin and realistic. You will learn colouring, shaping and attaching technique in this class.
$299

